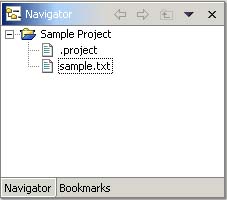
Views support editors and provide alternative presentations or navigations of the information in your Workbench. For example:
A view might appear by itself or stacked with other views in a tabbed notebook.
To activate a view that is part of a tabbed notebook simply click on its tab. As we will soon discover, the Workbench provides a number of quick and easy ways to configure your environment, including whether the tabs are at the bottom or top of your notebooks.
Views have two menus, the first is a menu associated with the top left area of the view which allows you to manipulate the view in much the same manner as the menu associated with the Workbench window.
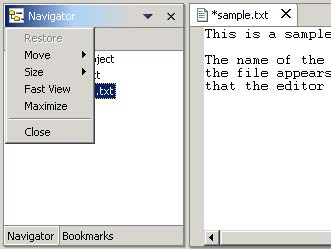
The second menu is accessed by clicking on the down arrow ![]() .
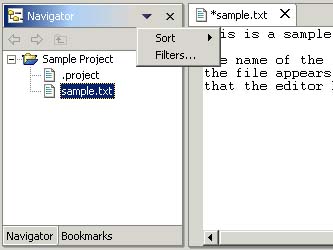
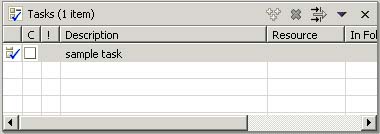
The view pull-down menu typically contains operations that apply to the entire
contents of the view, but not to a specific item shown in the view. Operations
for sorting and filtering are commonly found on the view pull-down.
.
The view pull-down menu typically contains operations that apply to the entire
contents of the view, but not to a specific item shown in the view. Operations
for sorting and filtering are commonly found on the view pull-down.
In the event you decided to experiment by rearranging your Workbench, this is probably a good opportunity to use the Perspective > Reset menu operation. The reset operation restores the layout to its original state.
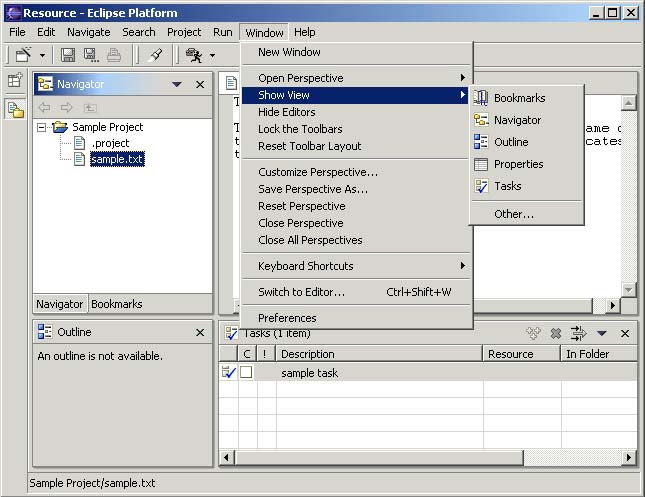
You can display a view by selecting it from the Window > Show View menu. A perspective determines the views you are likely to need and shows these on the Show View submenu. Additional views are available by choosing Other... at the bottom of the Show View submenu. As we will see later this is just one of the many features that allows you to build your own custom work environment.
![]()
 Editors