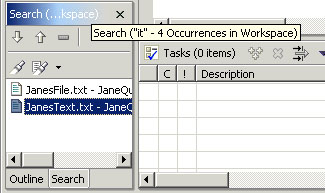
Now that we have completed our searched for "it" the Search view is visible. The title of the Search view shows that 4 matches were found.
Within the Search view two files are shown and we can further see that within each file there were 2 matches found. Let's take a more detailed look at the Search view.
The title of the search view provides us with a description of the search we just performed. If the view is too narrow to display the full description, hover over the title of the Search view. Observe that hover help appears and provides the full description.
Click the Show Next Match button ![]() to navigate to the first match of the search expression ("it").
to navigate to the first match of the search expression ("it").
Notice that the file JanesText.txt is automatically selected and opened in the editor area.
Click Show Next Match button two more times. Once again the Search view automatically opens the file.
It is sometimes useful to remove uninteresting matches from the search results. The Search view's popup menu provides two ways to remove matches:
Remove Current Match - Removes the actual match that you are currently looking at. If a file contains multiple matches, as in our case, only the current match is removed.
Remove Selected Match - Removes the file entry and all matches in it.
Choose Remove Current Match from the popup. Notice how JanesFile.txt only has one match left.
Select JanesText.txt in the Search view.
Choose Remove Selected Match from the popup menu.
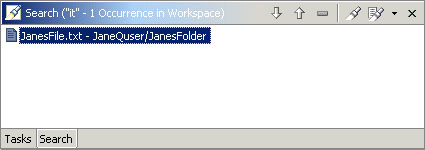
The Search view now shows only one match for JanesFile.txt
Perform a second search for "that" by clicking on the Search button
![]() in the Workbench's toolbar.
in the Workbench's toolbar.
The Search view updates to show the results of the new search.
You can move back and forth between your two search results using the drop down button on the Search views toolbar.
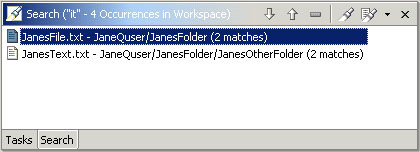
In the drop down button choose "it" - 1 Occurrence. The Search view switches back to show you the original search. On the context menu choose Search Again to repeat the initial search. Notice that once again we have 4 matches.
![]()