The Synchronize view provides you with a single place where you can see both the changes you've made, and changes others have made and committed to the repository. In addition to providing a combined local + remote resource tree, it allows you to put your changes in the repository (commit), and get the changes others have made (update).
Let's take a look at the Synchronize view in more detail.
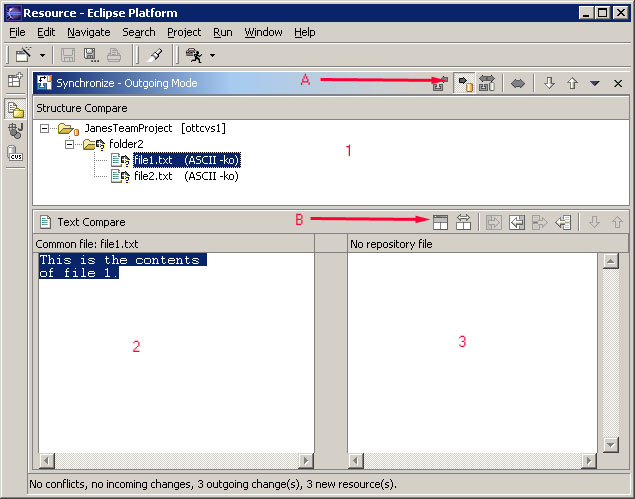
The first thing to notice is that the title of the view indicates we are in "Outgoing Mode" and the Outgoing Mode button (see A) is pressed in. Outgoing mode allows us to commit changes we have made locally to the repository. By default if you Synchronize with Repository and the repository has no changes for you to take, you are automatically placed into outgoing mode to let you quickly commit your changes. We'll come back to "Incomming Mode"a little later.
In "Outgoing Mode" the top area (#1) shows all of the resources that need to be committed.
The bottom area (#2 & #3) is the text compare area we worked with in the basic tutorial. By selecting a resource in the Structured Compare list the lower area displays the differences between what we have in the Workbench (#2) versus what is currently in the repository (#3).
Toolbar buttons (A) allow you to switch between outgoing mode and other synchronization modes that we will examine in a later section.
The lower toolbar (B) allows you to merge changes between your file and the repository copy of the file.
![]()