This wizard helps you merge changes between two states of a
project into your workspace. Often the Merge Wizard is used to move changes
from one branch into another, for example after splitting a branch to work on
a bug fix. The merge operation takes changes between two points in a branch,
the start point and the end point, and merges them into your
workspace. Typically the start point will be the root of a branch (version tag)
and the end point can either be the tip (latest and greatest) of the branch
or another version tag.
It is very important to understand that the destination of the merge is always
the project in your workspace. After the merge has completed you can test the
changes locally and then commit them to the new branch (usually HEAD).
To start a merge, select a project (or one or more resources),
and select Team > Merge... from the pop up menu.
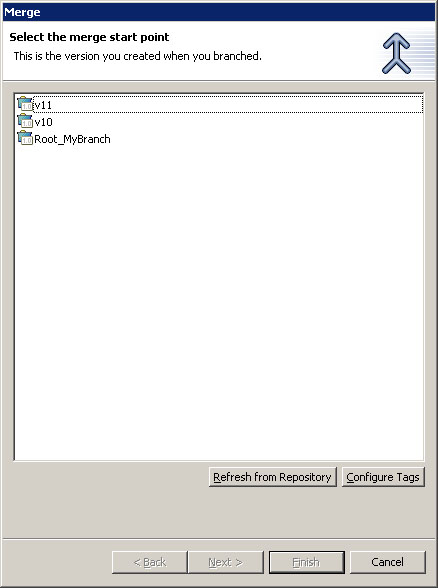
This is where you will select the starting point of the merge.
From the list, select a version of the project that will be the starting (base) point of the merge operation.
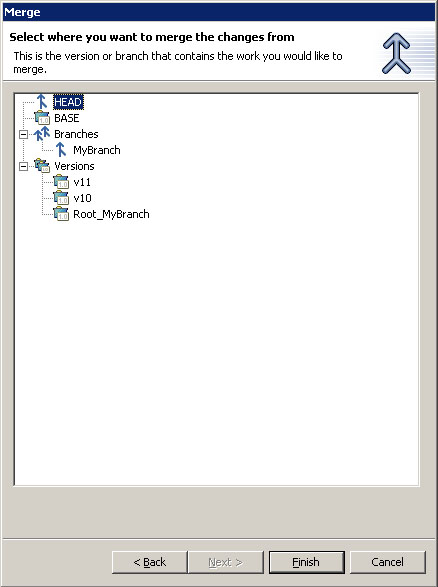
This is where you will choose the end state of the merge.
From the list, select either
This will be the end point of the merge operation. Choose a version when you want to merge the differences between two versions of a project into your workspace. Choose a branch if you want to merge the changes made in the branch into your local workspace.
After the finish button is pressed the changes between the start point and end point are calculated and a merge editor is displayed. Depending on the size of the project you are merging, this may take some time. In the merge editor you can update or merge changes into your Workbench. You cannot commit from the merge view.
![]()
Team programming with CVS
Branches
![]()
Branching
Merging from a branch
![]()