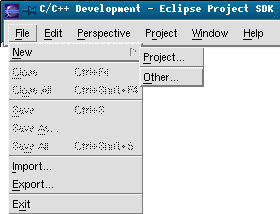
File Menu
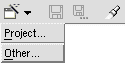
Toolbar
Creating a C/C++ Project |
|
| Whether you are working with existing C/C++ Source or beginning a project from scratch, you will need to first create a Project. There are two ways to create a C/C++ Project: the File Menu, or through the workbench toolbar. | |
File Menu |
Toolbar |
|
|
|
|
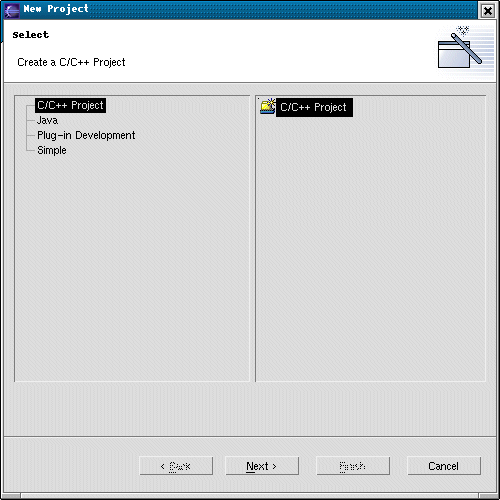
| Both of these methods will launch a New Project
Wizard.
|
||
Project Creation Wizard |
|
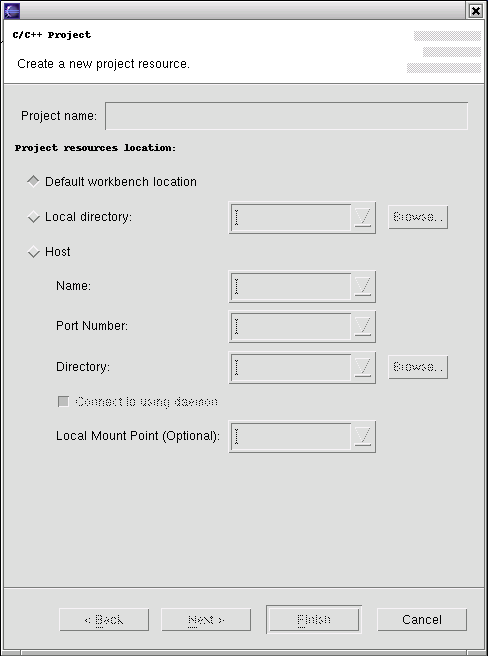
Here you can choose your Project
Name and specify where do you wish the source code to reside. If you have
no existing files and hence start editing from scratch, then the default
location which is under the same subdirectory where Eclipse was installed
is the way to go. If you have already existing files, there are three possibilities:
Choose the "Local directory" button and specify the path to the files. The project will know to reference those files, as opposed to copying them to the workbench. (Note: be aware that deleting the project, will cause a deletion of those referenced files as well! If you close the project before deleting it, the referenced files will not be deleted.) Choose the "Host" button if the files reside in a remote server. Specify the hostname and port number under which the server/daemon is running in the remote machine. The Directory should point to the location in the remote machine that contains the source files of your project. If you are using samba to mount remote shares then you have the option to specify the local mount point but this is not necessary. |
|
Select 
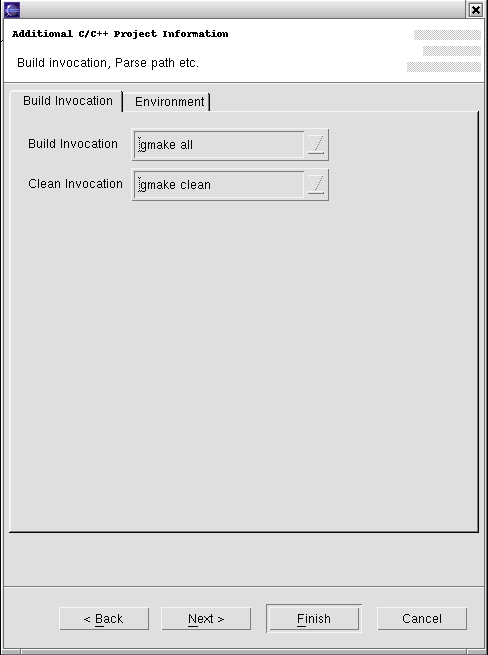
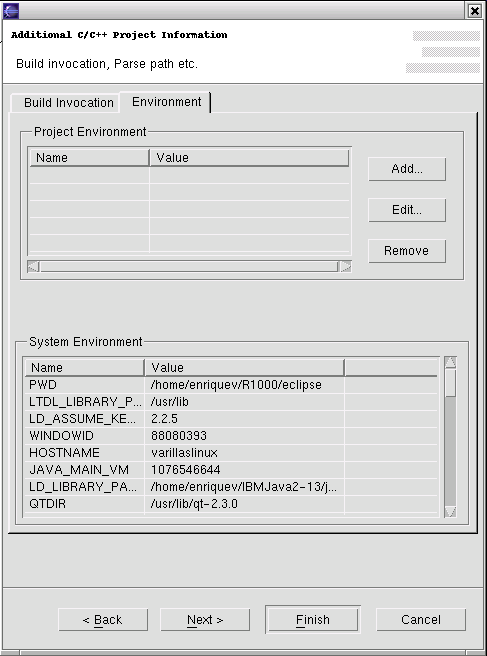
The next page of the wizard is where you specify the build invocation and environment used for building those files. If at this point in time you are more interested in analyzing the code rather than building, you can specify the build command for your project later on. |
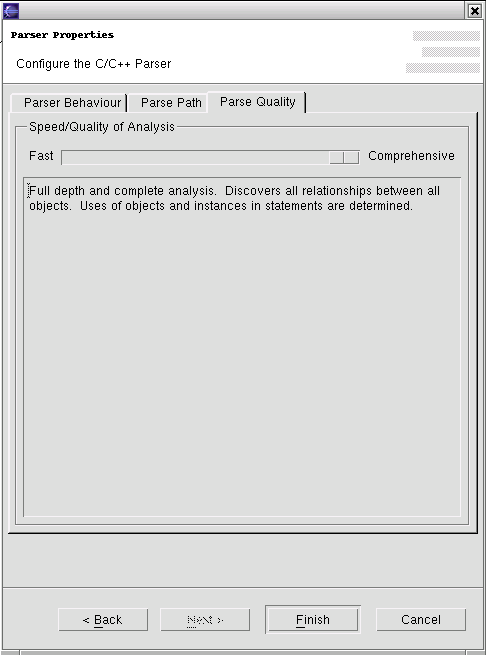
| Select
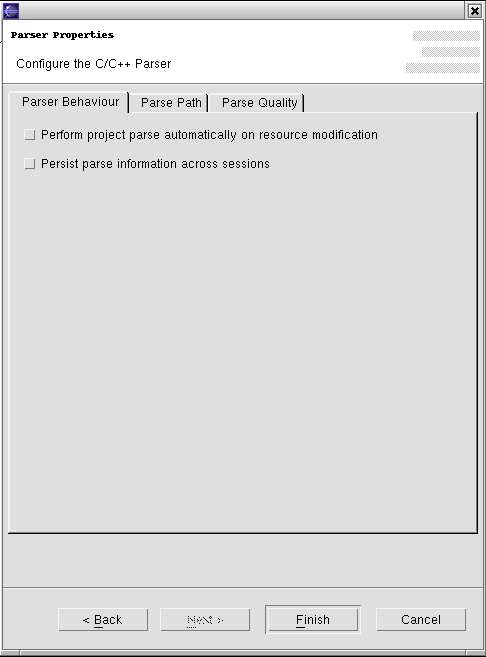
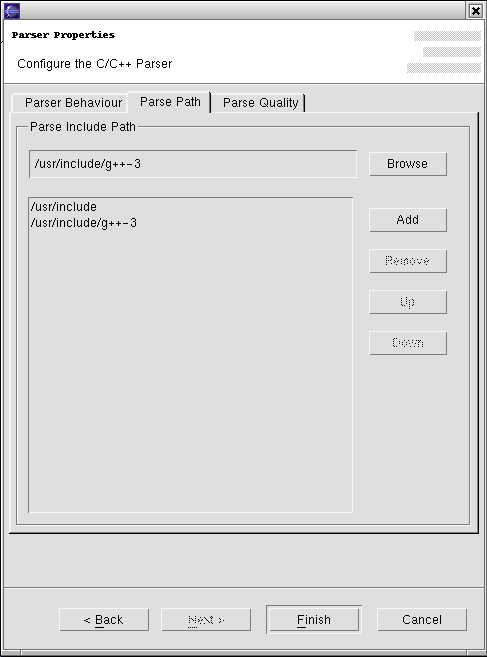
The next page of the wizard is where you will specify your parse behavior, parse path hierarchy and parse quality to be used with your project. |
When you have finished, click on  to create your project within the workbench.
 |
| Contact
Us
|