

| Time offsetting | ||
|---|---|---|

|

|
|
| Trace synchronization | Timestamp formatting | |
The time offsetting feature allows the user to apply a fixed offset to all event timestamps in a trace. It can be used, for example, to adjust the start time of a trace, or to manually align the timestamp of events from different traces.
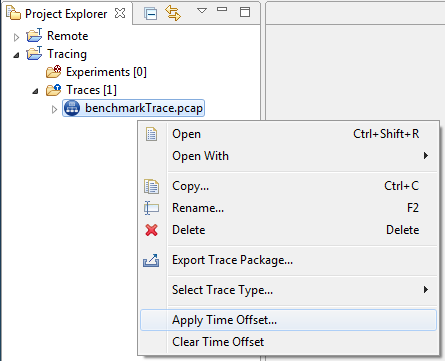
If the time offset to apply is known, it can be applied directly to the trace. In the Project Explorer view, select a trace, right-click and select Apply Time Offset.... It is also possible to select multiple traces, experiments or trace folders. All contained traces will be selected.
The dialog opens, in Basic mode.
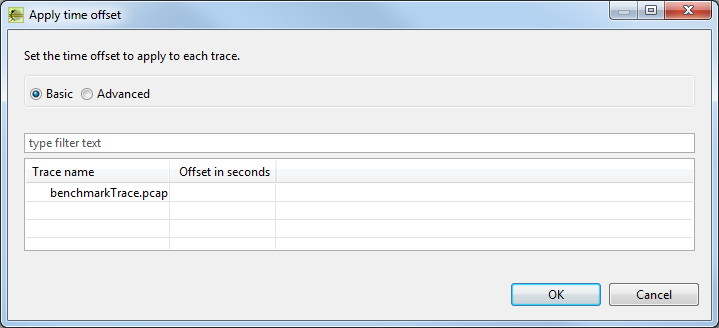
Enter a time offset to apply in the Offset in seconds column, with or without decimals. Then press the OK button.
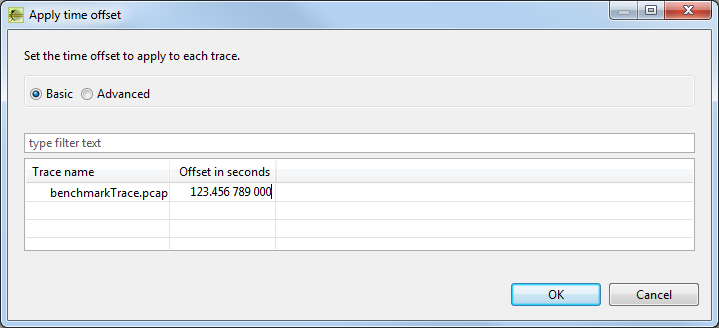
The time offset is applied to the trace and can be seen in the time offset property in the Properties view when the trace is selected.
The applied time offset is added to any time offset or time transformation formula currently set for the trace, and the resulting offset replaces any previous setting.
The time offset can also be computed using selected trace events or manually entered timestamps. After selecting one or more traces in the Project Explorer view, right-click and select Apply Time Offset.... In the opened dialog, select the Advanced button.
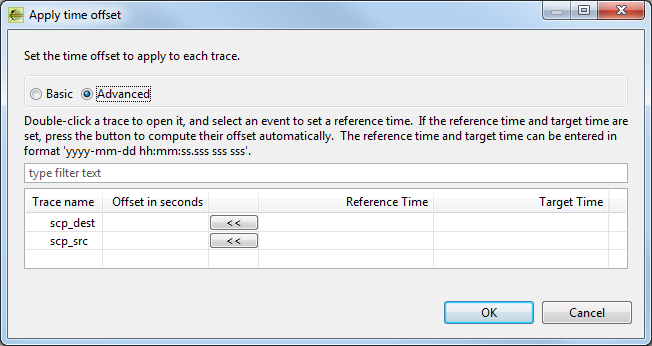
Double-clicking a trace name will open the trace in an editor. The Reference Time will be set to the trace start time. Selecting any event in the trace editor will set the Reference Time for that trace to the event's timestamp.
Selecting an event or a time in any view or editor that supports time synchronization will set the Target Time for every trace in the dialog.
Pressing the << button will compute the time offset that should be applied in order to make the reference time align to the target time, provided that both fields are set.
The Reference Time, Target Time and Offset in seconds fields can also be edited and entered manually.
To synchronize two events from different traces, first select an event in the trace to which the time offset should be applied, which will set its Reference Time field.
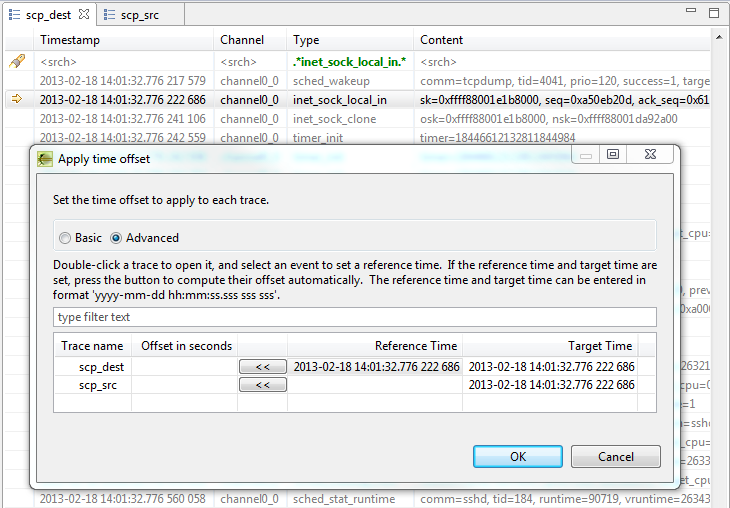
Then select a corresponding event in the second trace, which will set the Target Time field for the first trace.
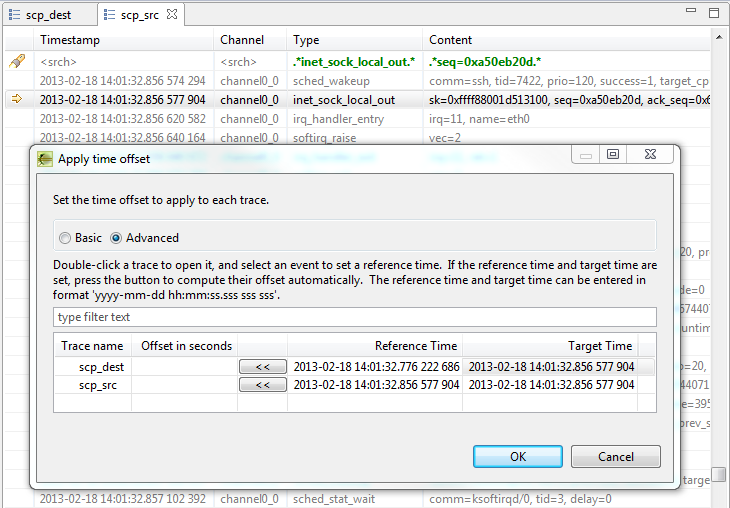
Finally, press the << button, which will automatically compute the time offset that should be applied in order to make the first event's timestamp align to the second event's timestamp.
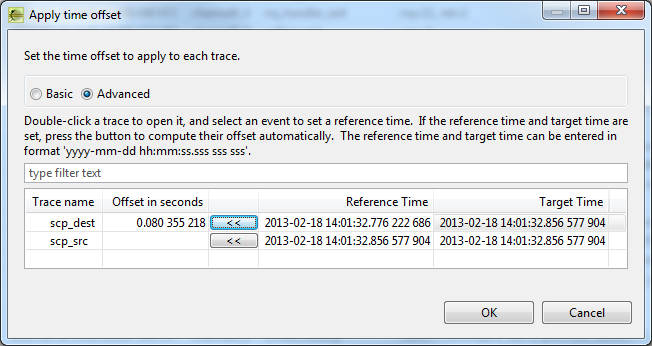
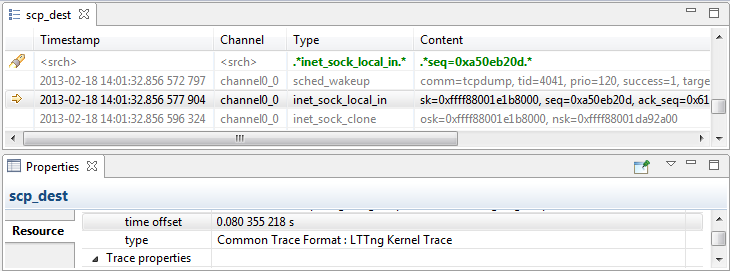
Then press the OK button. The time offset is applied to the trace and can be seen in the time offset property in the Properties view when the trace is selected.
The applied time offset is added to any time offset or time transformation formula currently set for the trace, and the resulting offset replaces any previous setting.
The time offset previously applied can be cleared to reset the trace to its original timestamps. In the Project Explorer view, select a trace, right-click and select Clear Time Offset. It is also possible to select multiple traces, experiments or trace folders. All contained traces will be affected.
The time offset or any time transformation formula will be deleted.

|

|

|
| Trace synchronization | Timestamp formatting |